Higher-order Venn diagrams

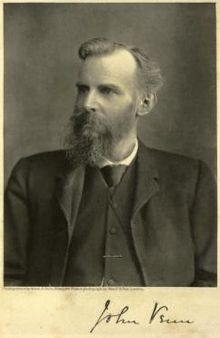
Back in 1989, I was working as the Computer Officer for my Cambridge college, Gonville & Caius. One of the Fellows, Anthony Edwards, was working on the design of a stained-glass window to commemorate the work of John Venn, an earlier Fellow of the college, and in doing so became interested in the construction of larger Venn diagrams.
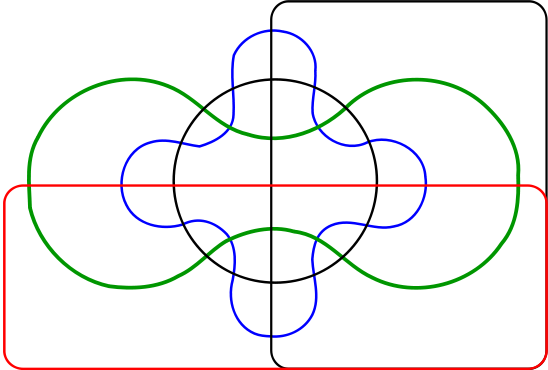
We all know the two or three-overlapping circles that represent the possible membership combinations of two or three logical sets. But how do you represent four different sets? Try drawing it, and you’ll realise it’s quite tricky to come up with something that shows all 16 possible regions.
There are several solutions to this problem - Venn came up with some himself - but they often lack the symmetrical elegance of the three overlapping circles. You can read about them on Wikipedia.
Dr Edwards came up with an ingenious solution based on segmenting the surface of a sphere, beginning with the equator and the 0 and the +/- 90-degree meridians. It can be extended to an arbitrary number of sets by creating wobbly lines that cross the equator - starting with the pattern of stitching found on a tennis ball. You can unwrap the sphere back onto a plane and the sets still work.

A five-set Edwards-Venn diagram
At one point when I was visiting Edwards’ study, he was writing some Pascal code to print these on his dot-matrix printer. I forget how many sets he could realistically print, about six or seven, I think: it was rather limited by the resolution of the printer. I was intrigued, because I had just taken delivery of a laser printer - a rare and rather expensive commodity in those days. The one or two HP lasers that the college possessed already were lower-resolution… 300 dpi, I think, where this one was probably around 600 dpi.
I started to think about whether I could write some code to produce a higher-resolution Venn diagram and so display more Venn sets. It was a little challenging because the memory that would have been required to hold the entire image of a page was rather more than my PC had available. It was certainly possible to do it in segments, but it wasn’t going to be pretty.
And then I realised there was a much easier way. Not only was this printer higher-resolution than any the college had previously owned, it also understood PostScript, something that had also involved a substantial price premium in the past (which is how Adobe Systems Inc. got to be where it is today). And although dot-matrix printers printed a line at a time, laser printers needed to have enough memory to hold a whole page. So the printer should be able to do it, even if my PC couldn’t. It was almost certain that it had a more powerful processor than my PC, too.
I bought the official PostScript tutorial and reference books - the ‘Red’, ‘Green’ and ‘Blue Books’ which other old-timers may remember fondly, (and which can now be downloaded for free over this newfangled World Wide Web thingy - What will they think of next?).
Now, PostScript is not just a way of describing pixels - it’s a full and rather elegant programming language, and so I was able to create a small program - just a hundred lines or so - which could cause the printer to produce these diagrams all by itself. And so, on an A4 sheet of paper, I could print a 9-set Venn diagram where you could see all of the distinct areas.
A friend of a friend was working for a company that possessed a Linotype printer capable of even higher resolution, so I sent him my 3K file, and a few days later he sent back a couple of acetates on which were printed what I believe to be the world’s first ten- and eleven-set Venn diagrams.
Alas, they have not survived the intervening twenty-two years. Perhaps I should have framed them.
The PostScript code, however, has survived - you can find it here. If you’re on a Mac, you can double-click on it and Apple’s Preview will convert it into PDF and display it. For others, I’ve attached the PDF
I make no great claims for the elegance of the code, but it was a fun little hobby project at the time, and very satisfying to have the printer doing all the work while my PC got on with the difficult business of running Windows 3.0!
